Last year, a client asked me to create product images for their catalog. They needed 20 high-quality photos for their new clothing line. I was confident – I had been using AI image generators for months. But after two days of generating images, nothing looked professional. The clothes looked flat, the perspectives were wrong, and the client was getting impatient.
Then a photographer friend visited and glanced at my screen. “Your problem isn’t the AI,” he said. “You don’t understand camera terms. You’re asking for images without knowing how real cameras work.”
That conversation changed everything. I spent the next week learning about aperture, focal length, depth of field, and perspective. When I applied those concepts to my prompts, the results transformed overnight.
In this guide, I’ll share everything I learned about camera terms for AI image generation – so you don’t have to waste two days like I did.
For a complete foundation in AI image generation, including how prompts work at a basic level, check out our comprehensive AI Image Generation Guide .
Why Camera Terms Matter in AI Images
AI image generators are trained on millions of real photographs. When you use camera terms in your prompts, you’re speaking the AI’s language. You’re telling it: “Generate an image that looks like it was taken with a real camera.”
Without camera terms, the AI makes random choices about perspective, depth, and focus. With camera terms, you guide those choices toward realistic results.
Before learning camera terms, my images looked like digital art. After learning them, they started looking like photographs. The difference was that simple.
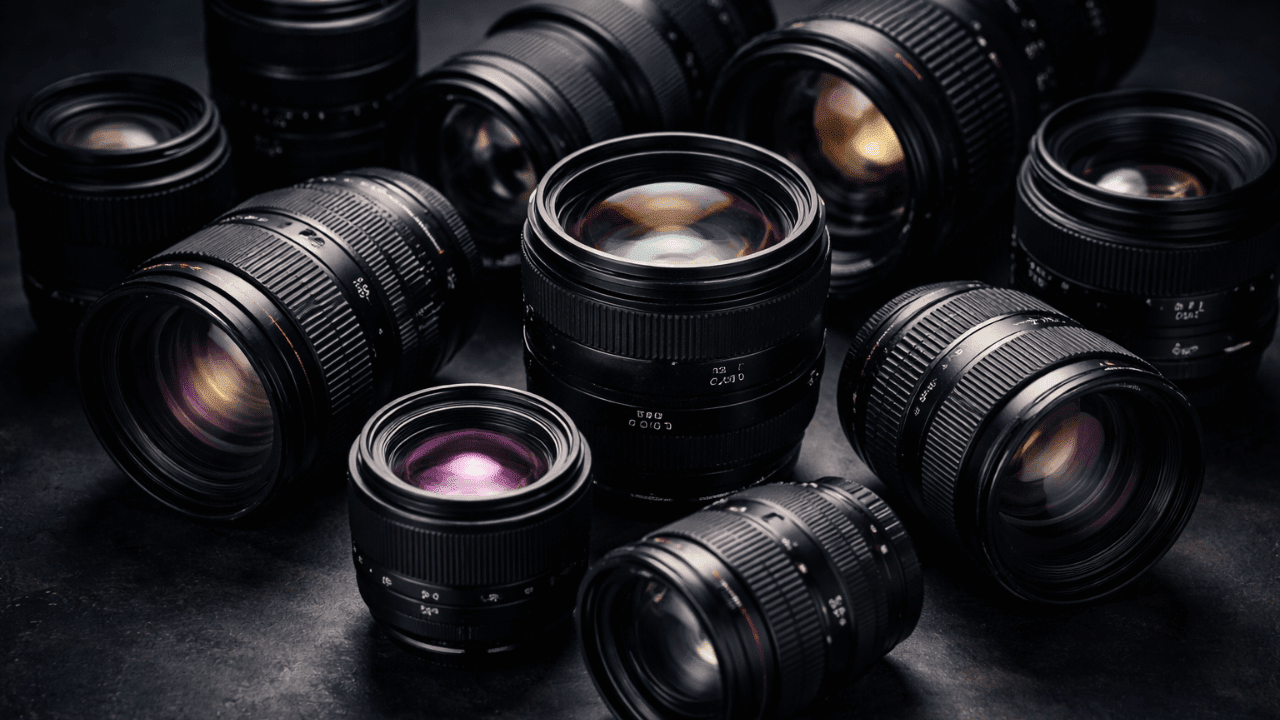
Essential Camera Terms Explained
1. Aperture (f-stop)
Aperture controls how much light enters the camera and affects depth of field.
| Setting | Effect | Best For |
|---|---|---|
| f/1.2 – f/2.8 | Shallow depth of field, blurred background | Portraits, close-ups |
| f/4 – f/8 | Medium depth | General photography |
| f/11 – f/16 | Everything in focus | Landscapes, product shots |
For portraits, I always use “shot at f/1.8” in my prompts. It creates that beautiful blurred background that makes subjects stand out.
2. Focal Length
Focal length determines how zoomed in or wide the image looks.
| Focal Length | Effect | Best For |
|---|---|---|
| 24mm – 35mm | Wide angle, captures more scene | Landscapes, architecture |
| 50mm | Natural perspective like human eye | Portraits, street photography |
| 85mm – 135mm | Compressed perspective, flattering | Professional portraits |
| 200mm+ | Telephoto, distant subjects | Wildlife, sports |
I learned this the hard way when my product images looked distorted. Switching from 24mm to 50mm fixed everything.
3. Depth of Field
Depth of field controls how much of the image is in focus.
| Term | Meaning |
|---|---|
| Shallow depth of field | Subject in focus, background blurred |
| Deep depth of field | Everything in focus |
| Selective focus | Only specific part in focus |
Adding “shallow depth of field with soft bokeh background” to my portrait prompts made them look professionally shot.
4. Perspective and Angle
| Term | Meaning |
|---|---|
| Eye-level | Camera at subject’s eye level |
| Low angle | Camera looking up – makes subject powerful |
| High angle | Camera looking down – makes subject vulnerable |
| Dutch angle | Tilted camera – creates tension |
For product images, eye-level works best. For dramatic portraits, low angle adds impact.
5. Shutter Speed
Shutter speed controls motion blur.
| Term | Effect |
|---|---|
| Fast shutter | Freezes motion |
| Slow shutter | Creates motion blur |
| 1/1000s | Freezes fast action |
| 1/30s | Slight motion blur for dynamic feel |
Adding “shot at 1/1000s” for action scenes and “shot at 1/30s with motion blur” for dynamic shots made my images much more realistic.
For more on how these terms work together with lighting, our guide on [Lighting Styles Explained for AI Images] covers complementary concepts.
Practical Examples
Example 1: Portrait Photography
Without camera terms:
“a portrait of a young man”
With camera terms:
“a portrait of a young man, shot on 85mm lens at f/1.8, shallow depth of field with soft bokeh background, eye-level perspective, natural skin texture”
The difference between these two prompts is like night and day. The second one actually looks like a professional photograph.
Example 2: Product Photography
Without camera terms:
“a product image of a watch”
With camera terms:
“a product image of a luxury watch, shot on 50mm lens at f/8, deep depth of field with everything in sharp focus, studio lighting, clean white background, ultra-realistic detail”
This is exactly what I learned from my client project. Once I started using camera terms, my product images started getting approved.
Example 3: Landscape Photography
Without camera terms:
“a beautiful mountain landscape”
With camera terms:
“a mountain landscape shot on 24mm wide-angle lens at f/11, deep depth of field with everything in focus, golden hour lighting, ultra-realistic 8K detail”
The wide-angle and deep depth of field make landscapes feel immersive and real.
Common Camera Term Mistakes
1. Conflicting Instructions
❌ Wrong: “shot on 24mm wide-angle with shallow depth of field”
(24mm naturally has deep depth of field – they conflict)
✅ Right: “shot on 85mm with shallow depth of field”
(85mm naturally works with shallow depth)
2. Ignoring Lens Capabilities
Different lenses have different strengths. Wide lenses are great for landscapes, not portraits. Telephoto lenses compress perspective – use them wisely.
3. Overloading Camera Terms
You don’t need every term in every prompt. Pick the 2-3 most important ones for your subject.
Our guide on [Common Beginner Mistakes in AI Image Generation] covers these issues in detail.
Camera Terms Cheat Sheet
| For This | Use These Camera Terms |
|---|---|
| Portraits | 85mm, f/1.8, shallow depth of field, eye-level |
| Products | 50mm, f/8, deep depth of field, studio lighting |
| Landscapes | 24mm, f/11, deep depth of field, wide angle |
| Action | 200mm, 1/1000s, fast shutter, freeze motion |
| Dynamic | 1/30s, motion blur, Dutch angle |
How to Combine Camera Terms with Other Elements
Camera terms work best when combined with:
- Lighting – “soft studio lighting” or “golden hour”
- Environment – “urban street” or “natural landscape”
- Quality – “ultra-realistic, 8K, sharp focus”
The magic happens when all these elements work together. For more on lighting combinations, our guide on [Lighting Styles Explained for AI Images] has excellent examples.
Frequently Asked Questions
Do I need to understand real photography to use camera terms?
Not deeply, but basic understanding helps. This guide covers everything you need.
Which camera term makes the biggest difference?
For me, focal length (50mm vs 24mm) transformed my images the most.
Can I use camera terms with any AI tool?
Yes. These terms work across Midjourney, Leonardo, Stable Diffusion, and others. Our comparison guide [Midjourney vs Leonardo vs Stable Diffusion] shows how each tool responds.
What if my AI tool doesn’t understand camera terms?
Most modern tools trained on photography understand them well. If one tool struggles, try another. [Leonardo AI for Realistic Images] handles camera terms excellently.
How many camera terms should I use per prompt?
2-3 is usually enough. Quality over quantity.
Conclusion
Learning camera terms was the turning point in my AI image generation journey. What used to take hours of trial and error now takes minutes of intentional prompting. The client who was impatient with me? They’re now my biggest referral source.
Camera terms aren’t just technical jargon – they’re the language of realism. Once you speak that language, AI listens.
Thank you for reading!