When I first started using AI image generators, I thought realism would come automatically. I’d write prompts like “a realistic portrait” and wonder why the results looked flat and artificial. It took me months of experimentation to realize that realism doesn’t come from the word “realistic” – it comes from structure, lighting, and visual logic.
I remember spending an entire weekend trying to generate a simple product image for a client. Nothing worked. Then I added “soft studio lighting with shadows on the right” and suddenly the image looked professional. That’s when I understood: AI needs visual instructions, not emotional words.
In this guide, I’ll share everything I’ve learned about customizing AI prompts for realism – techniques that have helped me create images that actually look like photographs.
Why Most AI Images Look Fake
Before we learn how to fix problems, we need to understand why they happen. Most AI images look fake because of three main reasons:
1. Confusing Lighting Instructions
AI models are trained on millions of photographs. They understand how light behaves in the real world. When your prompt ignores lighting, the AI makes random choices – and randomness rarely creates realism.
I once compared two versions of the same prompt. One had no lighting instructions, the other added “soft morning light from the left.” The difference was night and day. The second image actually looked like a real photograph.
2. Unrealistic Expectations
Beginners often ask AI to do impossible things – like combining styles that don’t exist together or expecting perfect anatomy without specifying it.
3. Missing Visual Details
AI doesn’t know what you’re thinking. If you don’t mention shadows, it won’t add them. If you don’t specify texture, it guesses. Guessing usually leads to generic results.
For more on common mistakes and how to avoid them, our guide on [Common Beginner Mistakes in AI Image Generation] covers everything in detail.
Core Concept: How AI Understands Visual Instructions
AI image models don’t “see” images like humans. They predict pixels based on patterns learned during training. When you write a prompt, you’re not giving commands – you’re providing probabilities.
Understanding this changed everything for me. I stopped thinking “what do I want” and started thinking “what would a photographer do?” This simple mindset shift improved my results by 80%.
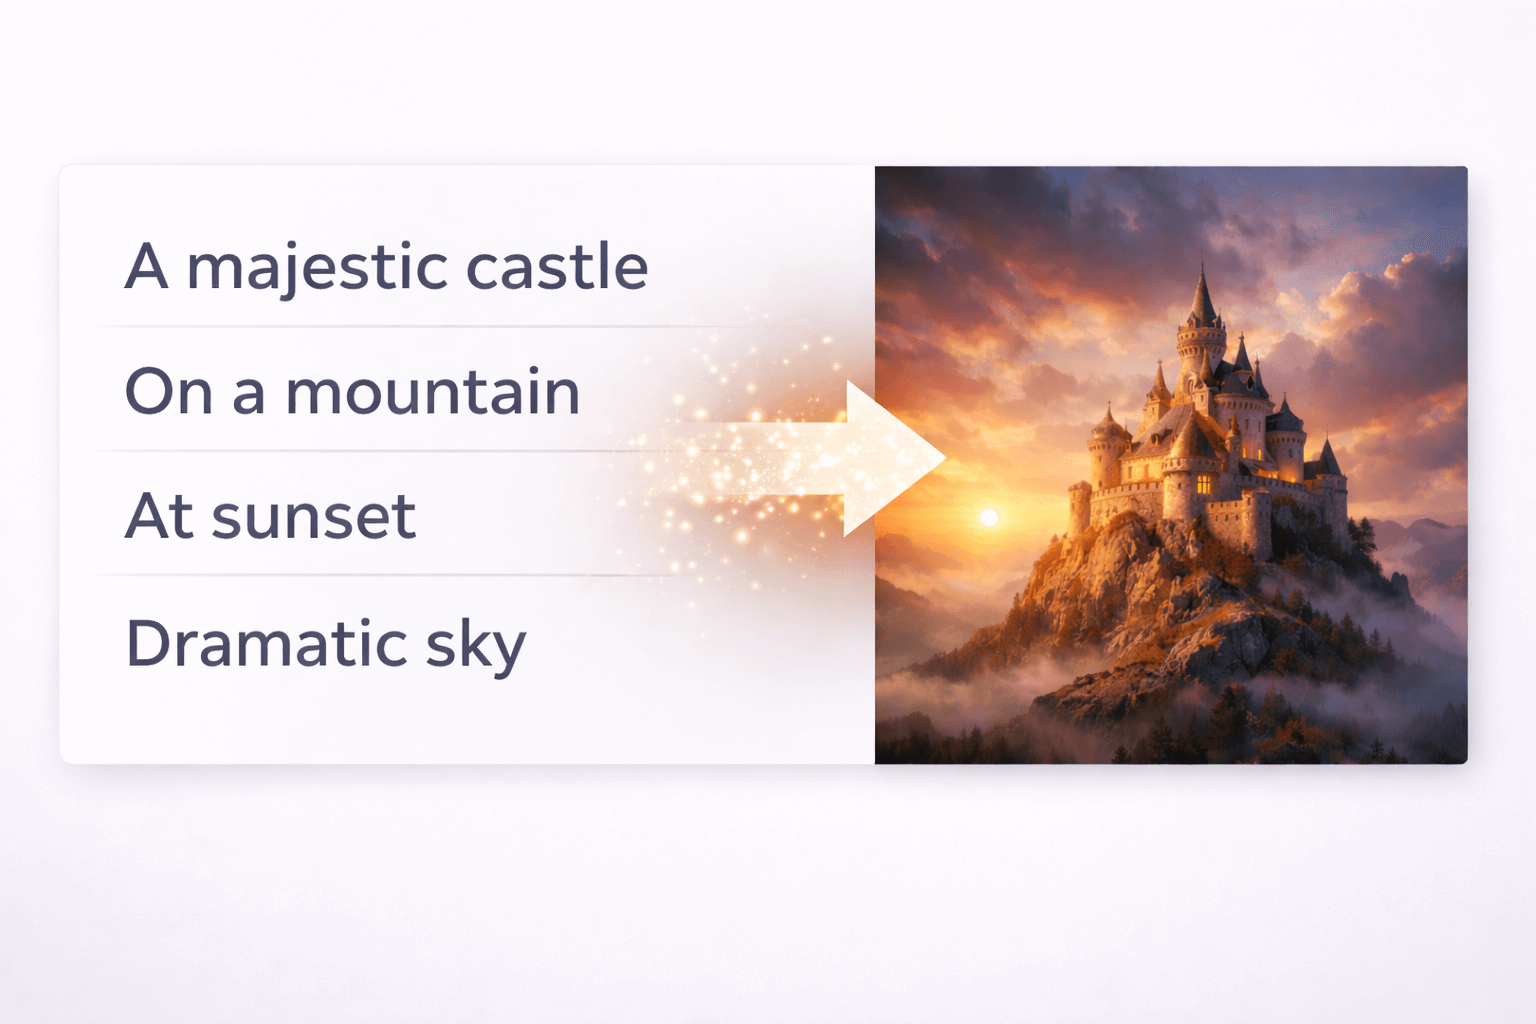
The Visual Hierarchy
AI models process prompts in layers:
- Subject – what is in the image
- Environment – where it is
- Lighting – how it looks
- Camera – how it’s captured
- Quality – how sharp it is
When I structure my prompts in this order, results become much more predictable. Try it yourself.
Practical Techniques for Customizing Prompts
Technique 1: Replace Emotions with Visuals
❌ Bad: “a beautiful sunset”
✅ Good: “a sunset with orange and purple colors, soft clouds, sun touching the horizon”
❌ Bad: “a handsome man”
✅ Good: “a man with sharp facial features, defined jawline, natural skin texture”
The AI doesn’t know what “beautiful” means. But it knows what orange sunsets look like. Be visual, not emotional.
Technique 2: Add Lighting Direction
Lighting is the secret sauce of realism. Try adding:
- “soft morning light from the left”
- “golden hour sunlight creating long shadows”
- “studio lighting with soft shadows”
- “backlight creating rim light around the subject”
This single technique transformed my portraits. For more on lighting, our guide on [Lighting Styles Explained for AI Images] covers different lighting types in detail.
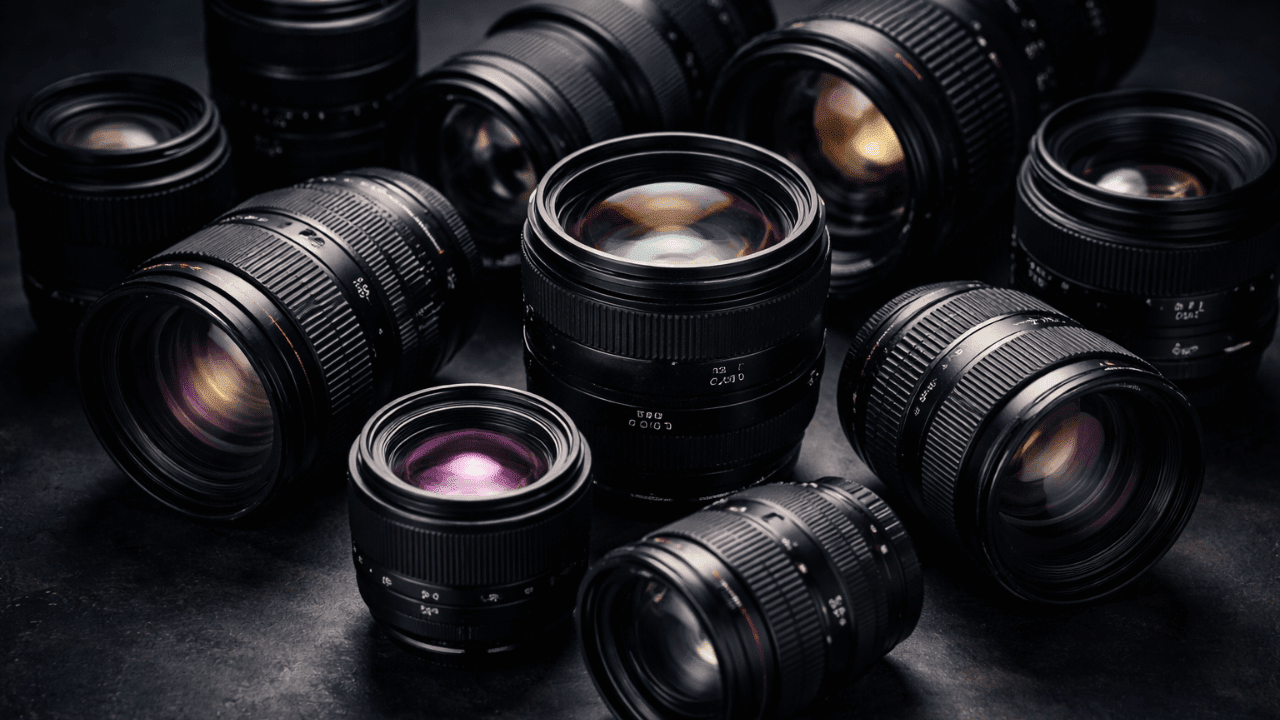
Technique 3: Specify Camera Perspective
AI models understand camera terms. Use them:
- “shot on 50mm lens”
- “wide angle view”
- “close-up portrait”
- “eye-level perspective”
My Experience: For a complete list of camera terms and how to use them, check out our guide on [Camera Terms Explained for AI Image Generation] .
Technique 4: Use Negative Prompts
Sometimes telling the AI what NOT to do works better than telling it what to do.
Common negative prompts for realism:
- “no blur, no distortion”
- “no cartoon style”
- “no extra limbs, no bad anatomy”
- “no text, no watermarks”
Our guide on [Negative Prompts Explained] goes deep into this technique with practical examples.
Technique 5: Control Image Quality
Always include quality keywords:
- “ultra-realistic”
- “8K resolution”
- “sharp focus”
- “highly detailed”
These keywords force the AI to generate sharper, more detailed images.
Step-by-Step Prompt Customization Workflow
Here’s the exact process I use for every realistic image:
Step 1: Start with the Subject
Clear description of who or what is in the image.
Step 2: Add the Environment
Where is it happening? What’s around?
Step 3: Choose Lighting Direction
Be specific about where light comes from.
Step 4: Set the Camera Perspective
How is the image framed?
Step 5: Add Quality Keywords
Ultra-realistic, sharp focus, etc.
Step 6: Include Negative Instructions
What should the AI avoid?
This workflow saves me hours of trial and error. I keep it saved in my notes and use it for every project.
Common Mistakes When Customizing Prompts
Even after years of experience, I still see these mistakes regularly:
1. Overloading the Prompt
Too many instructions confuse the AI. Focus on the most important elements.
2. Conflicting Visual Ideas
Don’t mix “studio lighting” with “outdoor golden hour” – pick one.
3. Forgetting the Subject
Sometimes prompts get so caught up in style that they forget what the image is actually about.
4. Ignoring Iteration
The first generation is rarely perfect. Refine, adjust, try again.
Our guide on [Common Beginner Mistakes in AI Image Generation] covers these in detail.
Advanced Tips for Photorealistic Results
Tip 1: Use Reference to Real Photography
Think about photos you’ve seen. What made them look real? Was it the lighting? The composition? The texture? Describe those elements.
Tip 2: Be Specific About Textures
- “realistic skin texture with visible pores”
- “detailed fabric texture”
- “rough concrete surface”
Tip 3: Control Depth of Field
- “shallow depth of field with blurred background”
- “everything in sharp focus”
- “soft background blur”
Tip 4: Add Real-World Imperfections
Perfect images look fake. Add small imperfections:
- “natural skin imperfections”
- “slight motion blur”
- “subtle lens flare”
For more advanced techniques, our guide on [Why AI Images Look Fake and How to Fix It] explains how to add realism through imperfections.
Frequently Asked Questions
How long does it take to learn prompt customization?
With consistent practice, you can see improvement in weeks. Mastery takes months of experimentation.
Which AI tool is best for realistic images?
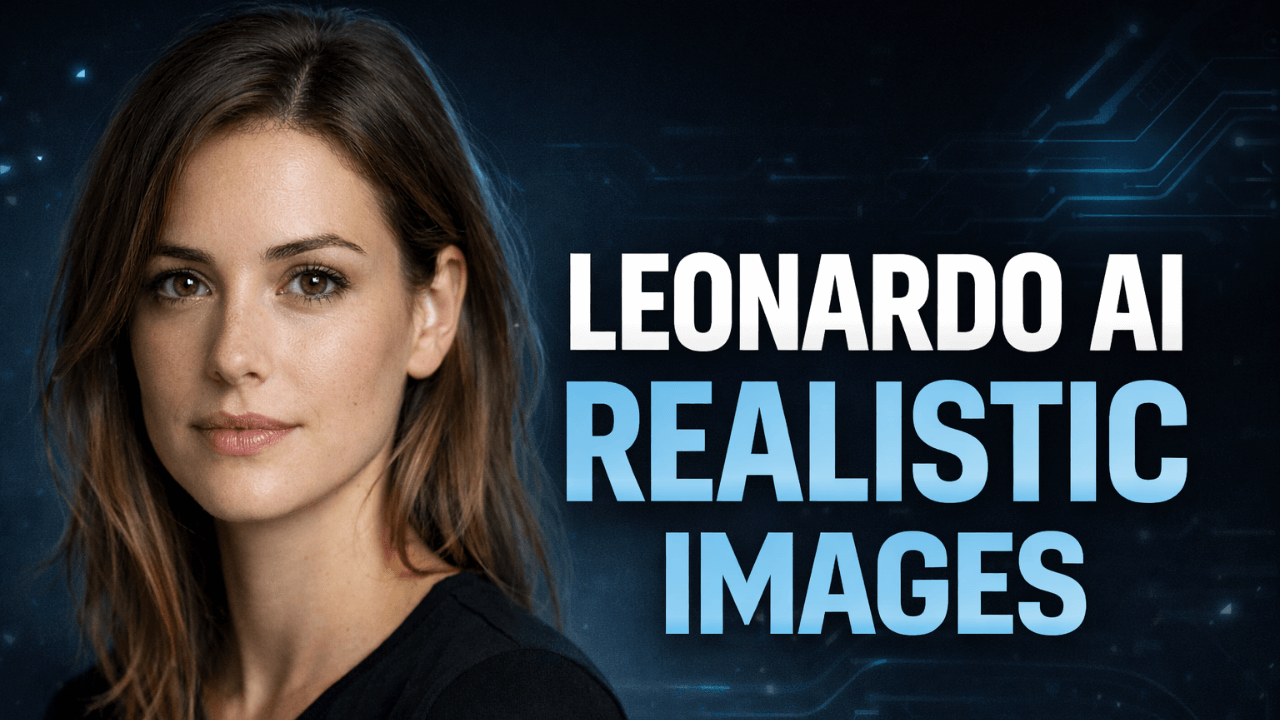
For beginners, [Leonardo AI for Realistic Images] is excellent. It handles realism well without complex settings.
Do longer prompts always give better results?
No. Clear, focused prompts work better than long, confusing ones.
Can I use the same prompt for different tools?
The structure works across tools, but each tool interprets prompts slightly differently. Our comparison guide [Midjourney vs Leonardo vs Stable Diffusion] explains these differences.
What’s the most important element for realism?
Lighting. Get the lighting right, and everything else follows.
Conclusion
Customizing AI prompts for realism is not about finding magic words – it’s about understanding how AI interprets visual instructions. Start with clear subjects, add specific lighting, control the camera perspective, and iterate until you get what you want.
I’ve gone from spending hours on failed generations to creating professional-quality images in minutes. The difference wasn’t better tools – it was better prompts.
For a complete understanding of AI image generation, including prompts, models, and workflows, check out our comprehensive AI Image Generation Guide .
Thank you for reading!