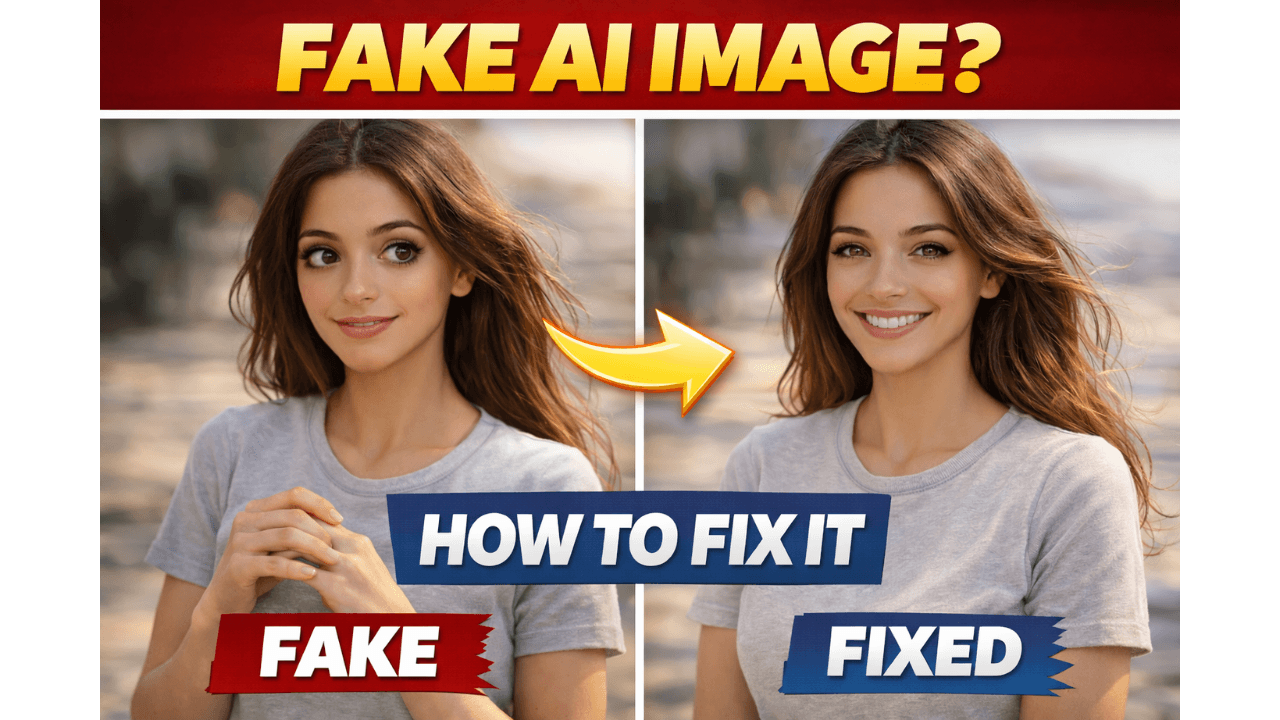
A few months ago, a friend sent me an AI image she’d created. “Why does this look fake?” she asked. “I used all the right words.”
I looked at the image. The lighting was flat. The skin looked like plastic. The background was blurry in all the wrong ways. The subject had six fingers.
“Let me show you something,” I said. I took her exact prompt, made five small changes, and generated again. Her jaw dropped. The new image looked like a professional photograph.
In this guide, I’ll share those five fixes – the exact changes that transform fake-looking AI images into realistic ones.
For a complete foundation in AI image generation, check out our comprehensive AI Image Generation Guide.
Why AI Images Look Fake: The 5 Main Reasons
Reason 1: Lighting is Missing or Wrong
Real photos have consistent, directional lighting. AI images without lighting instructions look flat and artificial.
The Fix: Always specify light source and quality.
Reason 2: Texture is Missing
Real surfaces have texture – skin pores, fabric weave, wood grain. AI often generates smooth, plastic-like surfaces.
The Fix: Add texture keywords to your prompts.
Reason 3: Anatomy is Wrong
Extra fingers, distorted faces, impossible proportions – these scream “AI-generated.”
The Fix: Use negative prompts to block common anatomy problems.
Reason 4: Depth of Field is Wrong
Real photos have natural depth of field. AI often gets focus wrong – either everything sharp or blurry in random places.
The Fix: Specify depth of field in your prompts.
Reason 5: Too Perfect
Perfect images look fake. Real photos have imperfections – slight blur, natural shadows, minor asymmetries.
The Fix: Allow natural imperfections.
Fix 1: Master Lighting
Before (Fake)
“a portrait of a woman”
Result: Flat lighting, no depth, artificial look
After (Real)
“a portrait of a woman, soft golden hour light from the left, warm skin tones, natural shadows on the right side of face”
Result: Dimensional, natural, photographic
Lighting Cheat Sheet
| Look | Lighting Prompt |
|---|---|
| Natural portrait | “soft window light from the side” |
| Dramatic | “harsh direct light with strong shadows” |
| Professional | “soft studio lighting with even illumination” |
| Outdoor | “golden hour sunlight creating warm glow” |
| Moody | “dim cinematic lighting with deep shadows” |
Lighting is 80% of realism. Get this right, and everything else becomes easier.
For complete lighting guidance, our guide on [Lighting Styles Explained for AI Images] has everything you need.
Fix 2: Add Texture
Before (Fake)
“a close-up of a face”
Result: Smooth, plastic-like skin
After (Real)
“a close-up of a face, realistic skin texture with visible pores, natural skin imperfections, subtle wrinkles around eyes”
Result: Skin looks real, not artificial
Texture Keywords
| Surface | Texture Keywords |
|---|---|
| Skin | realistic skin texture, visible pores, natural imperfections, skin details |
| Fabric | detailed fabric weave, realistic textile, cloth texture |
| Wood | natural wood grain, detailed wood texture |
| Metal | realistic metal surface, brushed metal texture, polished metal |
| Stone | rough stone texture, natural rock surface |
Fix 3: Fix Anatomy with Negative Prompts
Before (Fake)
“a person holding a coffee cup”
Result: Often 6 fingers, distorted hands
After (Real)
“a person holding a coffee cup –no extra fingers, no bad anatomy, no distorted hands, natural hands, five fingers only”
Result: Normal hands, proper anatomy
Anatomy Negative Prompts Cheat Sheet
| Problem | Negative Prompt |
|---|---|
| Extra fingers | no extra fingers, no bad hands, five fingers only |
| Bad anatomy | no bad anatomy, realistic proportions |
| Distorted face | no distorted face, natural facial features |
| Extra limbs | no extra limbs, normal anatomy |
| Weird proportions | no twisted proportions, realistic body |
For more on negative prompts, our guide on [Negative Prompts Explained] has advanced techniques.
Fix 4: Control Depth of Field
Before (Fake)
“a portrait with flowers in background”
Result: Background might be randomly blurry or sharp
After (Real)
“a portrait with flowers in background, shallow depth of field, subject in sharp focus, soft bokeh background”
Result: Professional portrait look
Depth of Field Guide
| Effect | Prompt |
|---|---|
| Portrait | shallow depth of field, blurred background, subject sharp |
| Landscape | deep depth of field, everything in focus |
| Product | deep depth of field, entire product sharp |
| Macro | extremely shallow depth, selective focus |
| Street | medium depth, natural focus |
Fix 5: Allow Imperfections
Before (Fake)
“a perfect face, flawless skin”
Result: Plastic, artificial, uncanny valley
After (Real)
“a natural face with realistic skin texture, slight imperfections, natural asymmetries, real person look”
Result: Looks like a real photograph of a real person
Natural Imperfection Keywords
- “natural skin imperfections”
- “slight asymmetry”
- “realistic pores”
- “subtle blemishes”
- “natural wrinkles”
- “imperfect but real”
The Complete Fix Formula
Combine all five fixes into one powerful prompt:
text
[Subject] + [Lighting] + [Texture] + [Depth of Field] + [Negative Prompts] + [Quality]
Example:
“a portrait of a middle-aged man, soft window light from the left, realistic skin texture with visible pores and natural imperfections, shallow depth of field with sharp focus on face, –no extra fingers, no bad anatomy, no distorted face, ultra-realistic 8K detail, –ar 4:5”
Before and After Examples
Example 1: Portrait
Before (Fake):
“a woman smiling”
Result: Flat lighting, plastic skin, possible anatomy issues
After (Real):
“a woman smiling naturally, soft golden hour light from the right, realistic skin texture with natural imperfections, shallow depth of field, sharp focus on eyes, –no extra fingers, no bad anatomy, ultra-realistic 8K”
Example 2: Product Shot
Before (Fake):
“a watch on a table”
Result: Flat, artificial, no texture
After (Real):
“a luxury watch on a wooden table, soft studio lighting from multiple angles, detailed metal texture with realistic reflections, deep depth of field with everything sharp, –no reflections, no text, ultra-realistic 8K”
Example 3: Landscape
Before (Fake):
“a mountain landscape”
Result: Generic, artificial colors
After (Real):
“a majestic mountain landscape, golden hour light creating warm tones, detailed rock textures, deep depth of field with everything in focus, realistic clouds with soft shadows, ultra-realistic 8K, –ar 16:9”
Quick Fix Checklist
Before generating, check:
- Lighting specified? (source, direction, quality)
- Texture keywords added?
- Negative prompts for anatomy?
- Depth of field defined?
- Natural imperfections allowed?
- Quality keywords included?
- Aspect ratio set correctly?
Frequently Asked Questions
Why do AI images still look fake after adding details?
You might be missing one of the five fixes. Check each one systematically.Which fix makes the biggest difference?
Lighting. Always start with lighting.Can I fix fake-looking images after generation?
Sometimes with editing tools, but better to get it right during generation.Do different tools need different fixes?
The principles are the same, but tools respond differently. Our guide [Midjourney vs Leonardo vs Stable Diffusion] explains tool-specific approaches.How long until I stop getting fake-looking images?
With consistent practice, you’ll see improvement in weeks. Mastery takes months.
Conclusion
My friend’s frustrated question – “Why does this look fake?” – led me to develop these five fixes. Now I can look at any AI image and immediately spot what’s wrong.
The difference between fake and real isn’t magic. It’s lighting, texture, anatomy, depth, and imperfection. Master these five, and your images will transform.
Thank you for reading!