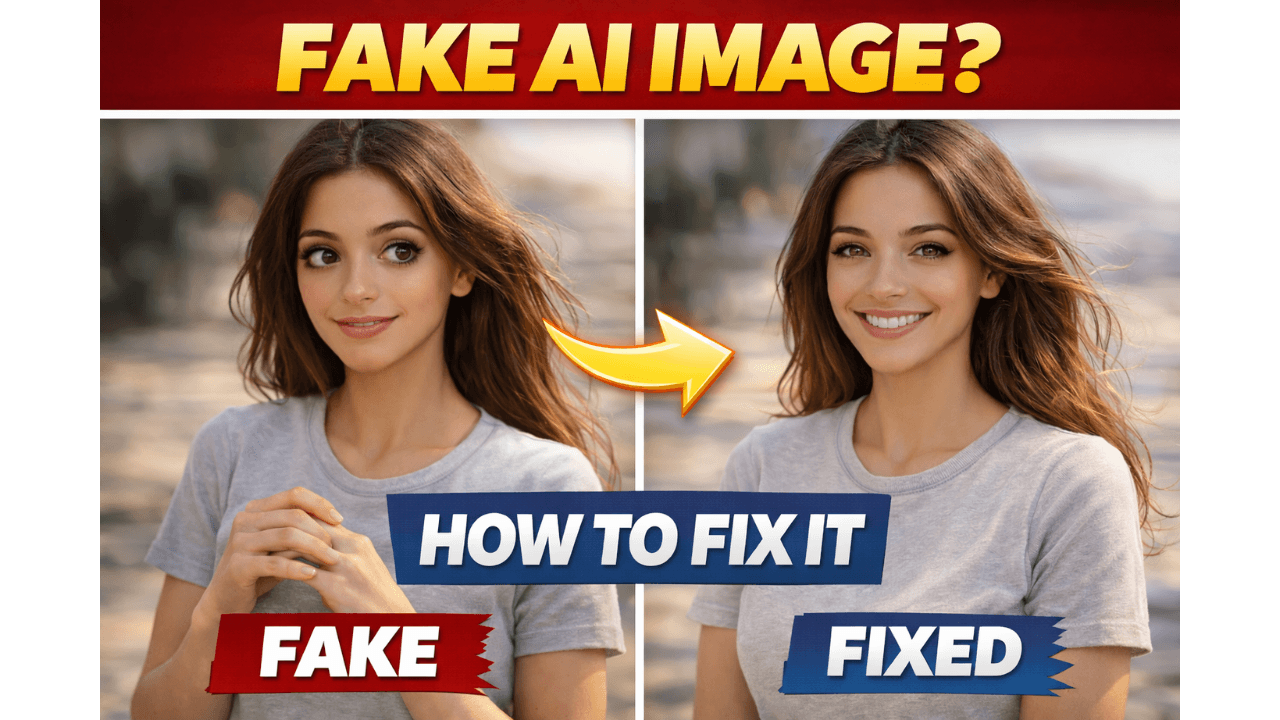
Last year, a photographer friend challenged me. “AI images always look fake,” he said. “You can tell immediately.” I spent the next three months proving him wrong. I studied real photographs, analyzed what made them look real, and tested hundreds of techniques.
Three months later, I showed him a portrait I’d generated. He studied it for a full minute, then asked, “Which camera did you use?” When I told him it was AI, he didn’t believe me.
That moment taught me that photorealistic AI images aren’t magic – they’re the result of understanding how real photography works.
In this guide, I’ll share everything I learned during those three months – the techniques that finally convinced my photographer friend.
For a complete foundation in AI image generation, including how prompts work at a basic level, check out our comprehensive AI Image Generation Guide .
What Makes an Image Look Real?
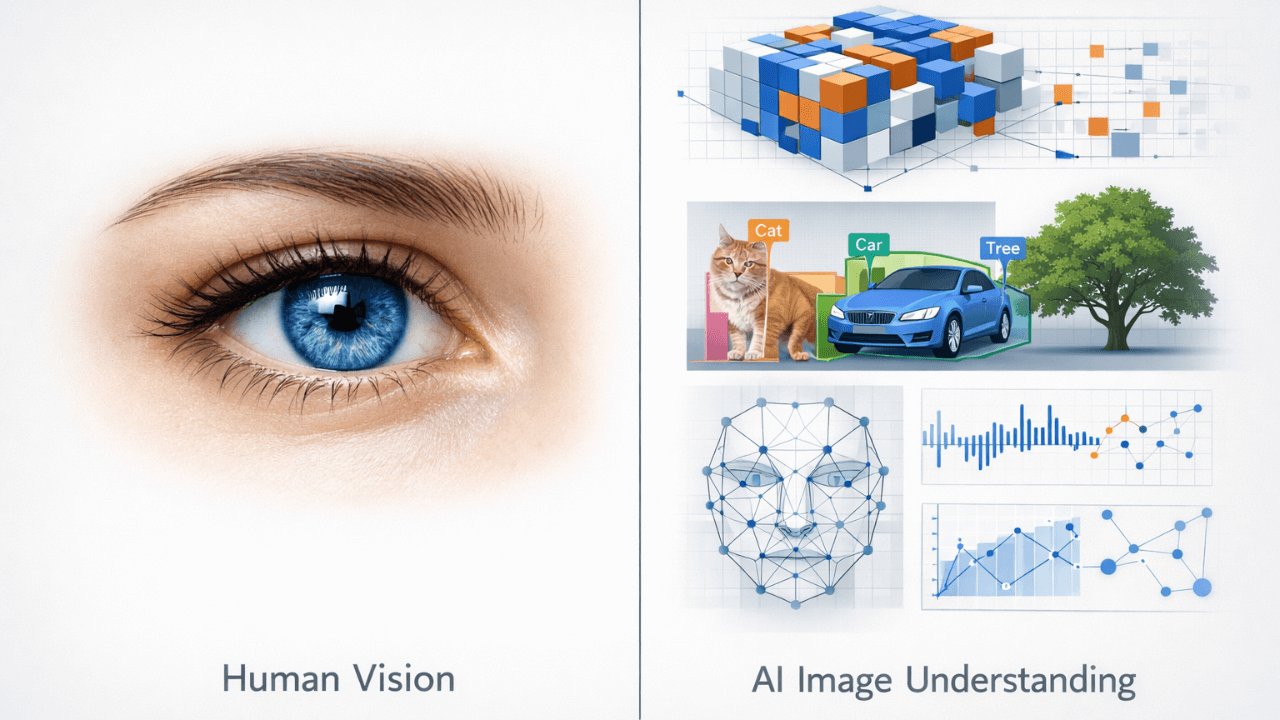
Before we can create photorealistic images, we need to understand what “real” looks like.
1. Lighting Logic
Real photos have consistent lighting. Light comes from somewhere, creates shadows, and affects colors.
2. Texture Detail
Real surfaces have texture – skin has pores, fabric has weave, wood has grain.
3. Depth and Focus
Real photos have depth. Some things are in focus, others blur naturally.
4. Color Consistency
Colors in real photos are consistent with the light source.
5. Imperfections
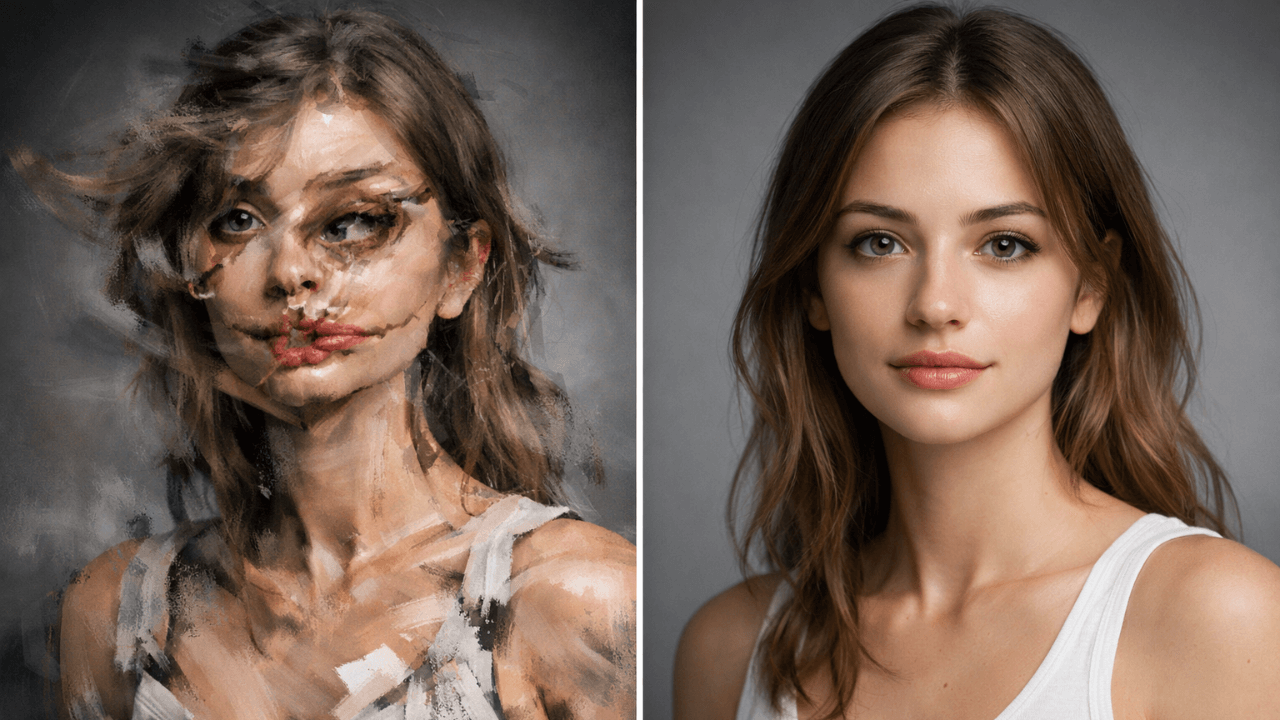
Perfect images look fake. Real photos have slight imperfections – a stray hair, a wrinkle, a reflection.
Once I started thinking about these elements, my images transformed. I stopped trying to create “perfect” images and started creating “real” ones.
Essential Techniques for Photorealism
Technique 1: Master Lighting First
Lighting is 80% of photorealism. Before anything else, decide:
- Where is the light coming from?
- What kind of light is it? (soft, hard, natural, studio)
- What mood does it create?
I always write lighting first in my prompts now. “Soft morning light from the left” works better than any magic word.
For complete guidance on lighting, our guide on [Lighting Styles Explained for AI Images] covers everything you need.
Technique 2: Use Camera Terms
Real photos are taken with cameras. Use camera language:
- Focal length (50mm, 85mm)
- Aperture (f/1.8, f/11)
- Depth of field (shallow, deep)
Adding “shot on 85mm at f/1.8” to portrait prompts instantly improved realism.
Our guide on [Camera Terms Explained for AI Image Generation] has a complete reference.
Technique 3: Add Texture Details
Be specific about textures:
- “realistic skin texture with visible pores”
- “detailed fabric weave”
- “natural wood grain”
- “rough concrete surface”
Technique 4: Control Depth of Field
Real photos don’t have everything in focus:
- Portraits: shallow depth of field, blurred background
- Landscapes: deep depth of field, everything sharp
- Macro: extremely shallow focus
Technique 5: Include Imperfections
Perfect images look fake. Add:
- “natural skin imperfections”
- “slight motion blur”
- “subtle lens flare”
- “realistic shadows”
Technique 6: Use Quality Keywords
Always include:
- “ultra-realistic”
- “8K resolution”
- “sharp focus”
- “highly detailed”
The Photorealism Prompt Formula
After hundreds of tests, I’ve developed this formula:
text
[Subject] + [Lighting] + [Camera Terms] + [Texture] + [Quality] + [Aspect Ratio]
Example:
“A portrait of a young woman, soft golden hour light from the right, shot on 85mm at f/1.8, shallow depth of field with blurred background, realistic skin texture with natural imperfections, ultra-realistic 8K detail, –ar 9:16”
This formula works consistently across subjects and tools.
Practical Examples
Example 1: Portrait Photography
Basic Prompt:
“a portrait of a man”
Photorealistic Prompt:
“a portrait of a middle-aged man, soft studio lighting from the left, shot on 85mm at f/1.8, shallow depth of field with creamy bokeh background, realistic skin texture with natural pores and slight stubble, natural skin imperfections, ultra-realistic 8K detail, sharp focus on eyes, –ar 4:5”
Example 2: Landscape Photography
Basic Prompt:
“a mountain landscape”
Photorealistic Prompt:
“a majestic mountain landscape, golden hour light from behind, shot on 24mm wide-angle at f/11, deep depth of field with everything in sharp focus, detailed rock textures, realistic clouds with soft shadows, ultra-realistic 8K resolution, –ar 16:9”
Example 3: Product Photography
Basic Prompt:
“a watch on a table”
Photorealistic Prompt:
“a luxury watch on a marble table, soft studio lighting from multiple angles, shot on 50mm at f/8, deep depth of field with everything sharp, detailed watch face with realistic reflections, clean white background, ultra-realistic 8K quality, –ar 1:1”
For more examples of realistic images, our guide on [Leonardo AI for Realistic Images] has excellent case studies.
Common Photorealism Mistakes
1. Ignoring Lighting
❌ No lighting instructions → flat, artificial results
✅ Always specify light source and quality
2. Perfect Faces
❌ “perfect face, flawless skin” → looks plastic
✅ “realistic skin texture with natural imperfections” → looks real
3. Wrong Depth of Field
❌ Portrait with everything in focus → amateur look
✅ Portrait with shallow depth → professional look
4. Forgetting Camera Terms
❌ Generic descriptions → generic results
✅ Camera-specific terms → photographic results
5. Low Resolution
❌ No quality keywords → soft, blurry images
✅ “8K, ultra-realistic, sharp focus” → crisp, detailed images
Our guide on [Common Beginner Mistakes in AI Image Generation] covers these issues in detail.
Photorealism Checklist
Before generating, check:
- Lighting specified? (source, quality, direction)
- Camera terms included? (focal length, aperture)
- Depth of field defined? (shallow or deep)
- Texture details added?
- Quality keywords included?
- Aspect ratio set for platform?
- Negative prompts added for common problems?
Tool-Specific Tips
Leonardo AI
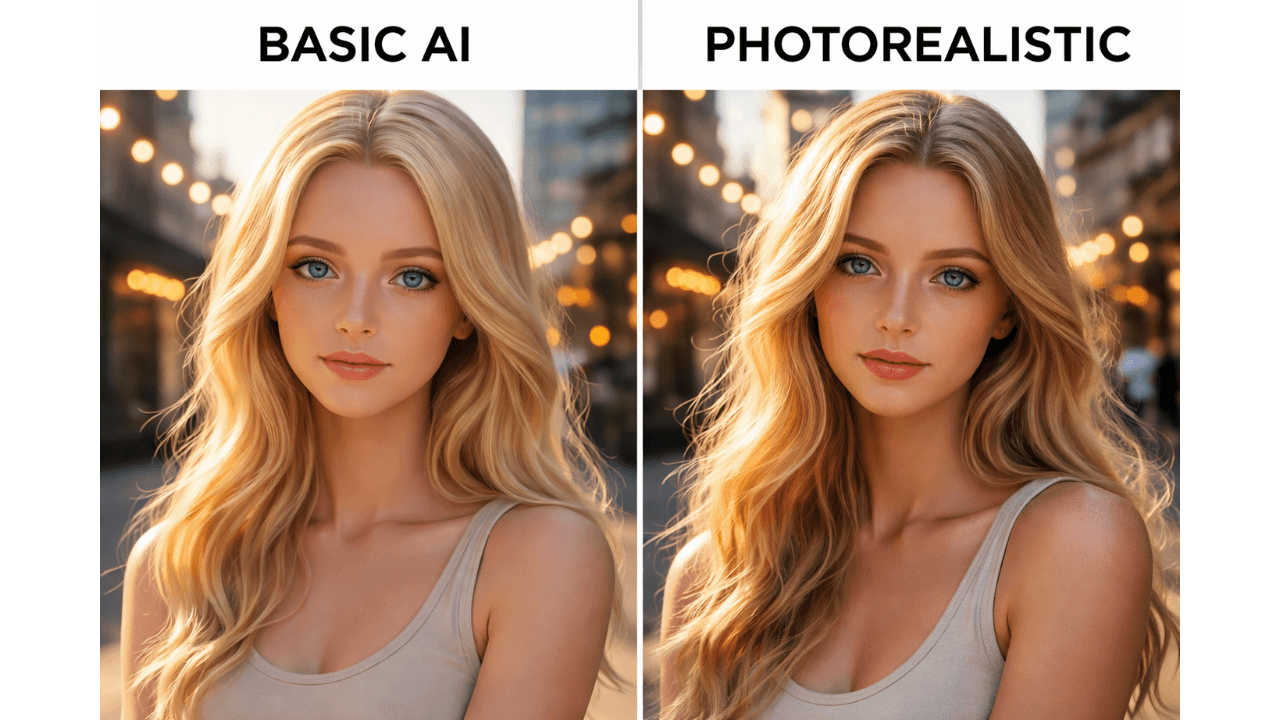
Excellent for photorealism. Use “cinematic” and “photorealistic” in prompts. Our guide [Leonardo AI for Realistic Images] has detailed tips.
Midjourney
Great for artistic realism. Use --style raw for less interpretation. Our guide [Midjourney for AI Image Generation] explains settings.
Stable Diffusion
Most control. Use specific models trained for realism. Our guide [Stable Diffusion Explained for Beginners] covers model selection.
For tool comparisons, our guide [Midjourney vs Leonardo vs Stable Diffusion] helps you choose.
Frequently Asked Questions
How long does it take to master photorealism?
With consistent practice, you can see improvement in weeks. Mastery takes months.Which tool is best for photorealistic images?
Leonardo AI is easiest for beginners. Stable Diffusion offers most control for advanced users.Do longer prompts work better for realism?
Clear, focused prompts work better than long, confusing ones.Can I get photorealism in any style?
Realism is a style itself. Stick to photographic descriptions.What’s the single most important factor?
Lighting. Get lighting right, and everything else follows.
Conclusion
Three months of work to prove my friend wrong taught me that photorealism isn’t about finding magic prompts – it’s about understanding how real photography works.
Now I can create images that fool photographers. Not because I have secret techniques, but because I learned to think like a photographer, not just a prompter.
Thank you for reading!