My cousin called me last month. He was furious.
He had spent three hours generating AI portraits for his clothing brand — and every single one looked fake. The lighting was off. The skin looked like plastic. The background had that weird, too-perfect blur that screams “this was made by a computer.” He had wasted an entire evening and had nothing usable.
“I don’t understand,” he said. “I see people posting AI photos that look completely real. What am I doing wrong?”
I knew exactly what he was doing wrong — because I had done the same thing for months before I figured it out.
The difference between an AI photo that looks fake and one that looks like it came out of a professional DSLR camera is not the tool you use. It’s not even the subject. It’s the specific words you put in your prompt — and most people never figure this out because nobody explains it clearly.
This guide is everything I’ve learned about making AI images look genuinely photographic. Not “pretty good for AI.” Actually real.
Why Do AI Photos Look Fake in the First Place?
Before we fix the problem, it helps to understand why it happens.
When you give an AI a simple prompt — “a boy standing in a park” — the AI doesn’t think like a photographer. It thinks like a painter. It fills in every detail perfectly, evenly, without the imperfections that make real photos look real.
Real DSLR photos have:
- Slight motion blur if the subject moved even a little
- Uneven lighting — one side of the face slightly darker
- Background that isn’t perfectly sharp — some parts blurrier than others
- Skin texture with actual pores, not smoothed out
- Colors that aren’t perfectly balanced — slightly warm or cool depending on the light source
- A specific “look” based on the lens and camera settings
AI photos — without the right instructions — have none of these things. Everything is too perfect. Too smooth. Too even. And that’s exactly what makes them look fake.
The fix? You have to tell the AI to add these imperfections back in.
The DSLR Keywords That Actually Work
I’ve tested hundreds of combinations. These are the ones that consistently make AI photos look photographic:
For camera body and lens feel:
- DSLR photography
- shot on Canon EOS R5
- shot on Sony A7III
- 85mm portrait lens
- 50mm f/1.8 lens
- 35mm lens
For depth and background blur:
- shallow depth of field
- bokeh background
- f/1.8 aperture
- subject in sharp focus, background softly blurred
For skin and texture:
- realistic skin texture
- visible pores
- natural skin tone
- not smoothed, not airbrushed
For lighting:
- natural window light
- golden hour sunlight
- soft side lighting
- slight shadow on one side of face
For overall photo feel:
- photorealistic
- looks like a real photograph
- film grain
- RAW photo style
- unedited natural look
The Prompt Formula for DSLR-Style AI Photos
Here is the exact structure I use every time:
[Subject + Age + Brief Description] +
[What They're Doing + Where] +
[Lighting Type] +
[Camera + Lens] +
[Depth of Field] +
[Skin and Texture Keywords] +
[Overall Photo Style]
Real example:
“A young man, mid-20s, wearing a plain white shirt, standing near a window in a café, soft natural window light falling on one side of his face, shot on Sony A7III with 85mm portrait lens, shallow depth of field, bokeh background, realistic skin texture with visible pores, photorealistic, looks like a candid real photograph”
That prompt will give you something that most people cannot tell is AI-generated. I’ve sent images made with this formula to people who know photography — none of them guessed it was AI on the first look.
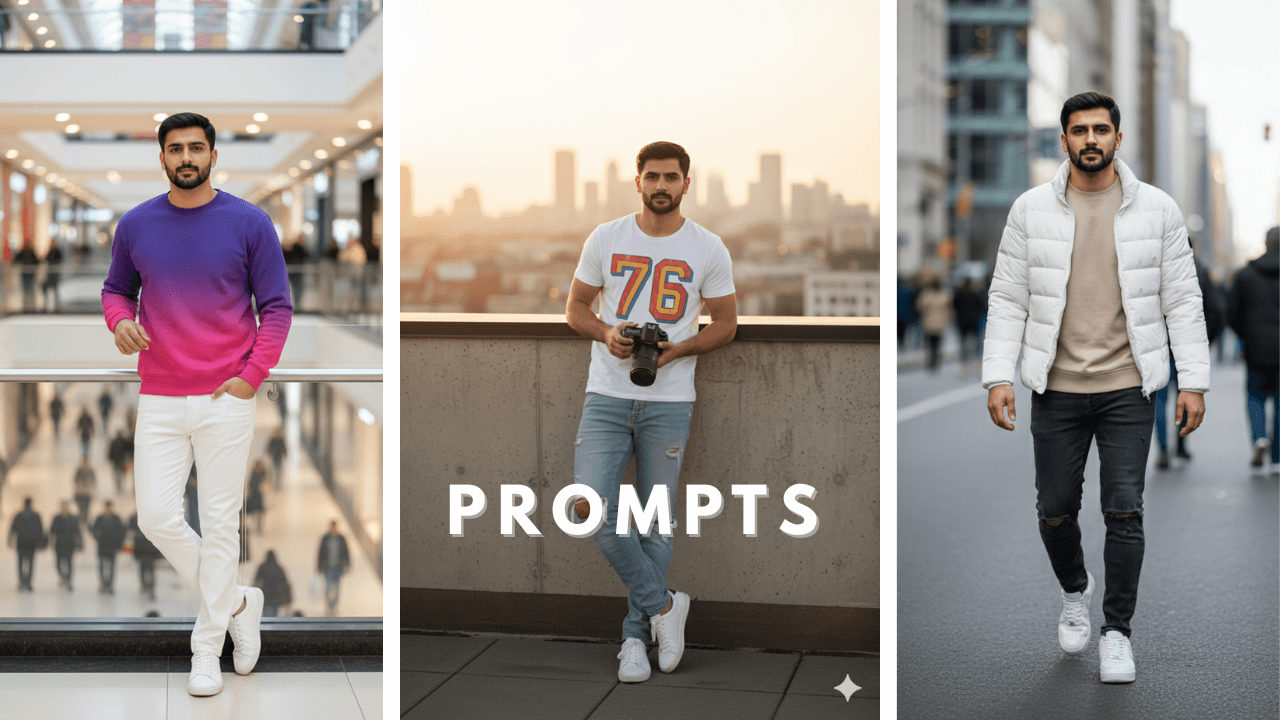
Five DSLR-Style Prompts You Can Use Right Now
Every prompt below I have personally tested. I’m telling you what worked and what didn’t — because that’s the part that actually helps.
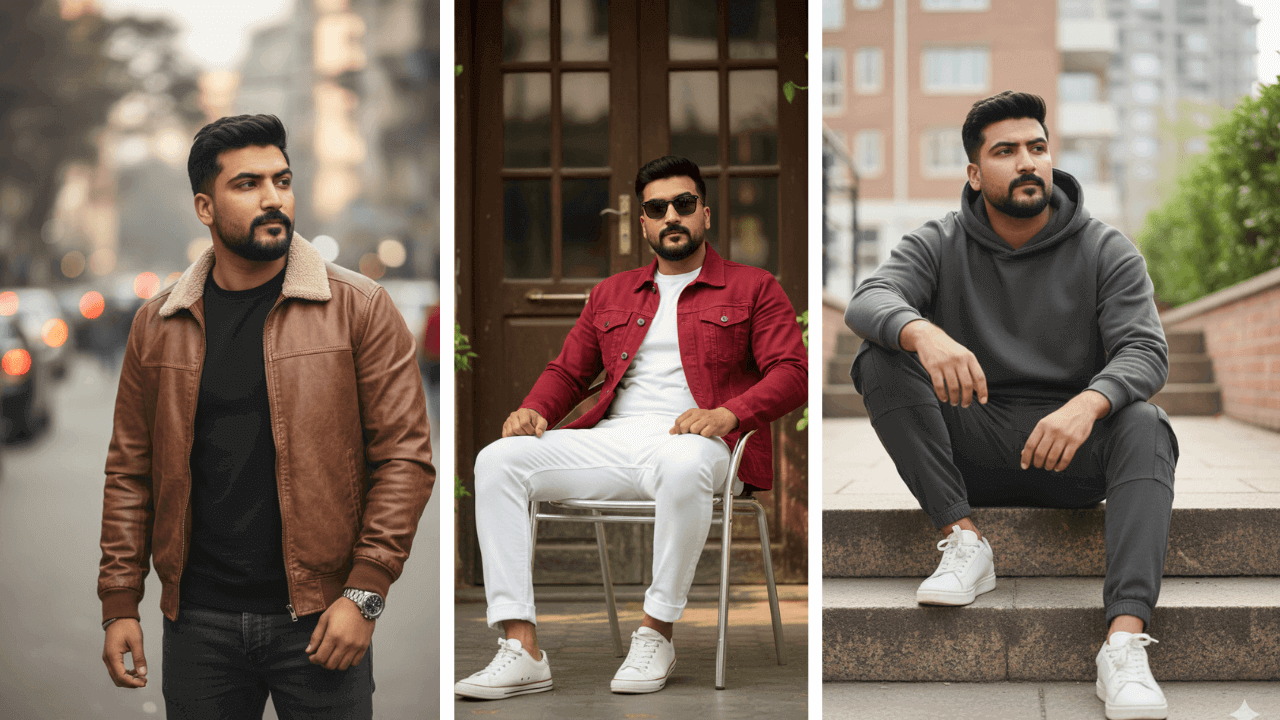
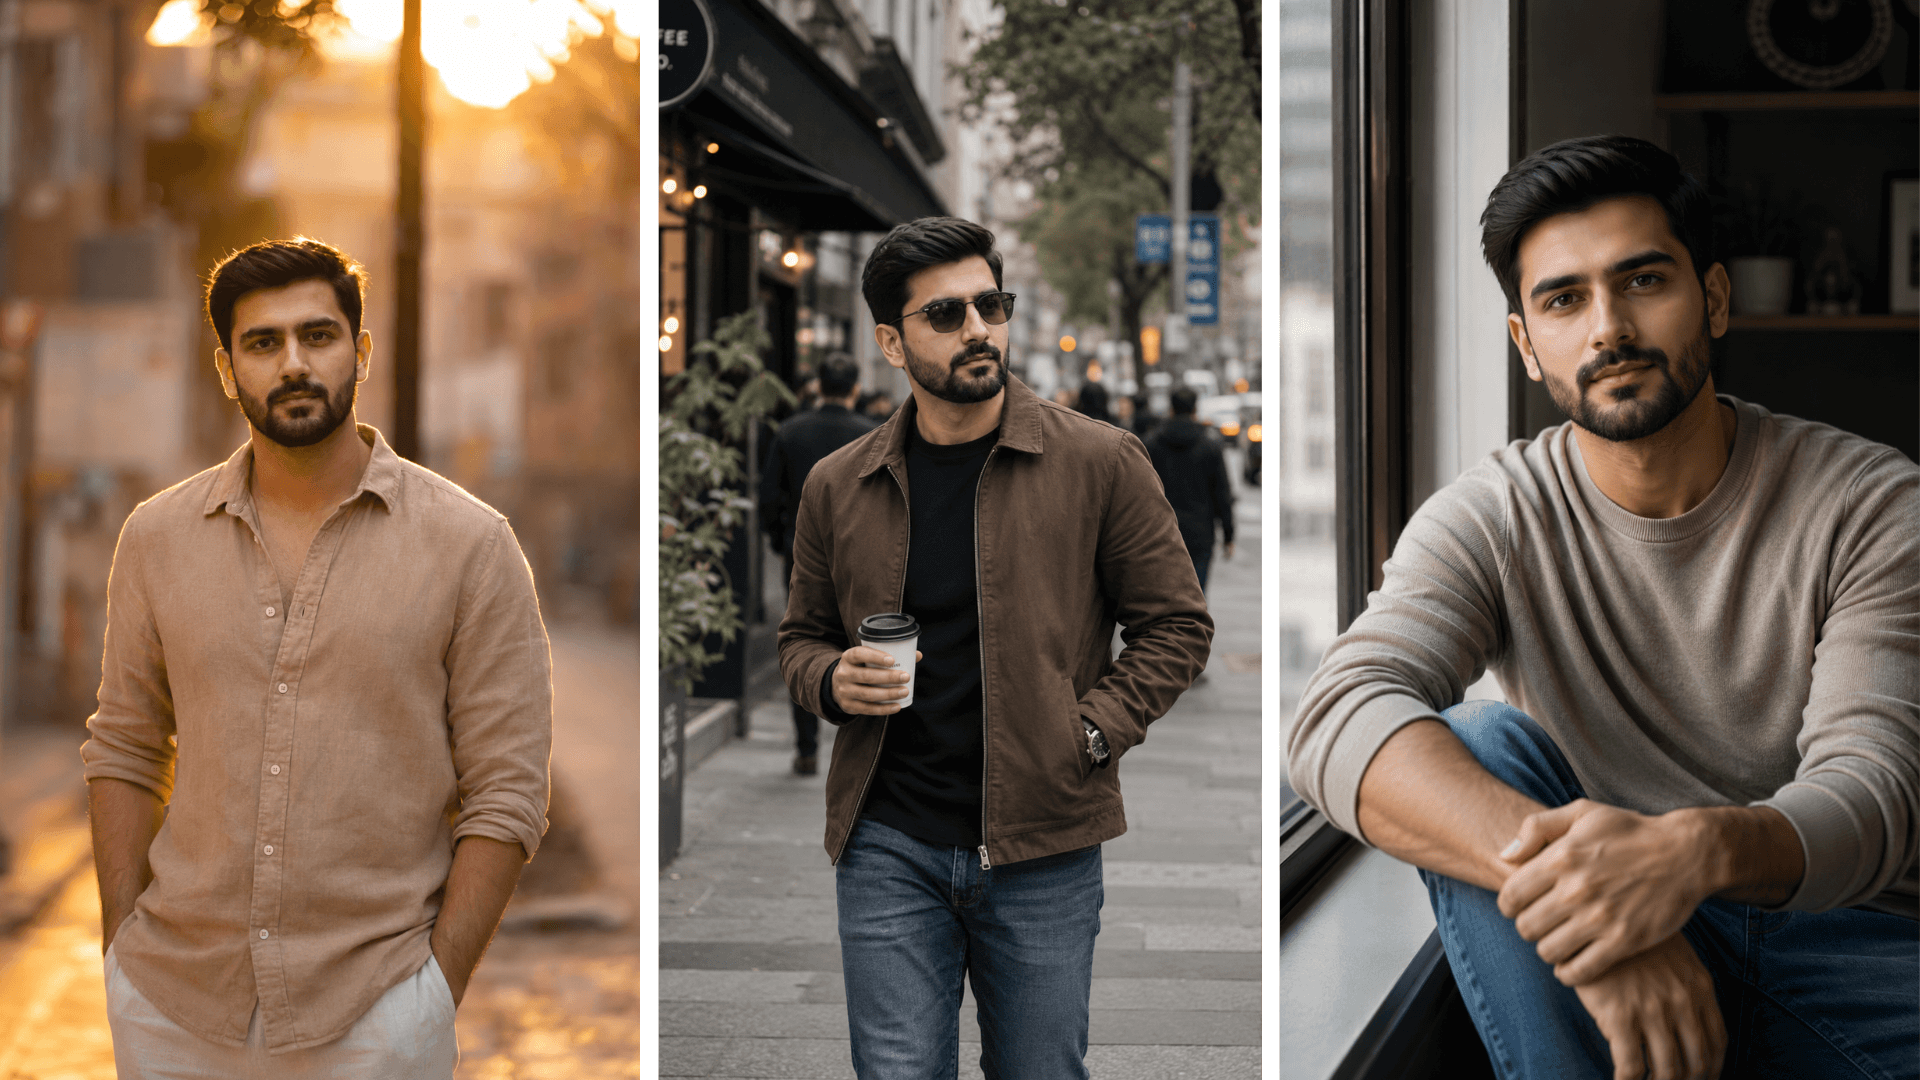
1. Outdoor Natural Light Portrait
“A young man in his late 20s wearing a casual linen shirt, standing outdoors on a quiet street, golden hour sunlight from behind creating a warm rim light, shot on Canon EOS R5 with 85mm f/1.4 lens, shallow depth of field, street softly blurred in background, natural skin texture, slight warmth in color tones, photorealistic candid photograph”

My experience: The first time I tried a golden hour prompt, the image came out with this fake orange glow that looked like a filter slapped on top. Adding “slight warmth in color tones” instead of “golden hour filter” fixed it immediately. The light became natural, not dramatic. This is now one of my most-used prompts for outdoor portraits.
2. Indoor Window Light Portrait
“A young man in his mid-20s sitting by a large window, soft diffused daylight on his face, slight shadow on the far side, modern minimal room background, shot on Sony A7III with 50mm f/1.8 lens, shallow depth of field, background slightly out of focus, realistic skin with natural texture, no smoothing, photorealistic, looks like a real lifestyle photograph”

My experience: The “no smoothing” keyword was a late addition. Before I added it, the skin always came out looking like porcelain — beautiful but completely fake. That two-word addition made the difference between a painting and a photograph. Use it every time.
3. Street Candid Style
“A man in his 30s walking down a busy urban street, slightly turned to the side, not looking at camera, casual jacket and jeans, overcast natural light, shot on Fujifilm X-T4 with 35mm lens, f/2.0 aperture, slight motion in background suggesting movement, film grain, muted natural color palette, photorealistic street photography style”

My experience: “Slight motion in background” is the secret ingredient for street shots. Real street photography always has some blur in the background because people and vehicles are moving. When I added this keyword, the image immediately stopped looking staged. It looked like someone actually caught this person mid-walk.
4. Professional Studio Headshot
“A professional headshot of a man in his late 20s wearing a dark navy blazer, clean white background, soft even studio lighting, slight shadow definition on face for depth, shot on Canon 5D Mark IV with 85mm portrait lens, sharp focus on eyes, natural skin texture, no heavy retouching, professional photography style, photorealistic”

My experience: Studio headshots are actually the hardest to make look real because AI tends to make them look too perfect — like a stock photo rather than a real headshot. “No heavy retouching” and “slight shadow definition on face” are the two keywords that fix this. The shadow gives the face dimension. The no-retouching instruction keeps the skin looking human.
5. Café Indoor Lifestyle Shot
“A young man in his mid-20s sitting at a wooden café table with a coffee cup, reading a book, not looking at camera, warm indoor café lighting, bokeh of café interior in background, shot on Sony A7III with 50mm f/1.4 lens, shallow depth of field, soft warm color tones, realistic skin texture, candid lifestyle photography, photorealistic”

My experience: Lifestyle shots are great for social media content. The key here is “not looking at camera” — it makes the whole image feel like a real moment someone captured, not a pose. I’ve used this style for multiple content projects and the results consistently fool people.
The Three Mistakes That Make AI Photos Look Fake
I’ve watched a lot of people struggle with this, including myself at the beginning. These three mistakes are responsible for 90% of fake-looking AI photos.
Mistake 1: Not specifying a camera or lens When you don’t mention a camera, the AI defaults to its own idea of “good image” — which is smooth, perfect, and fake. Mentioning a real camera model like Sony A7III or Canon R5 immediately shifts the output toward photographic realism. The AI has seen millions of photos taken with these cameras and mimics that look.
Mistake 2: Asking for perfect skin I know it sounds wrong, but “perfect skin” is the enemy of realistic AI photos. Real photos have texture. Real skin has pores. When you ask for perfect skin, you get plastic. Ask for “natural skin texture” or “realistic skin with visible pores” instead.
Mistake 3: Using “cinematic” and “photorealistic” together These two words pull in opposite directions. Cinematic means dramatic, color-graded, movie-like. Photorealistic means it looks like a real photograph. Mixing them confuses the AI and you get something that’s neither. Pick one style and commit to it fully.
One Extra Thing That Makes a Big Difference
After you generate the image, look at the background.
If the background is too sharp — meaning everything in the background is in perfect focus just like the subject — that’s a dead giveaway that it’s AI. Real DSLR photos with portrait lenses have the subject sharp and the background blurred. Always.
If your generated image has a sharp background, add these keywords to your prompt and regenerate:
“subject in sharp focus, background softly blurred, bokeh, shallow depth of field, f/1.8”
That single addition changes how realistic the whole image feels.
Frequently Asked Questions
Do I need a paid AI tool to get DSLR-quality results? No. Leonardo AI’s free version handles these prompts very well. I generated most of my test images for this guide on the free tier. Paid tools like Midjourney give better results, but free tools are more than enough to start.
Which camera name works best in prompts? Sony A7III and Canon EOS R5 give the most consistently photographic results in my testing. Fujifilm cameras give a slightly filmic look which is great for street photography style. Try all three and see which matches your subject.
Why does my image still look fake even with these keywords? Two most common reasons — either the reference image you used was low quality, or you mixed too many styles in one prompt. Simplify your prompt, pick one lighting style, and try again.
Can I use these photos commercially? The prompts are free to use however you want. Check your specific AI tool’s terms of service for commercial image usage — most major platforms allow it.
Final Thoughts
My cousin called me again two days after that first frustrated conversation. He had tried the prompts I sent him. His exact words were: “My wife thought I hired a photographer.”
That’s the goal. Not “good for AI.” Actually good.
The difference is in the details — camera names, lens specs, skin texture keywords, depth of field instructions. None of it is complicated once you know what to look for. It’s just specific knowledge that most people don’t have because nobody writes it down clearly.
Now you have it. Go generate something that makes people do a double take.
Written by Abuzar